



Compression Bag Leaks: Check the Zip Before Patching
Most compression bags reinflate because the zipper or valve isn’t fully sealed, and resealing plus a quick leak test fixes the problem in minutes. Start by reopening the zip and closing it slowly from one corner, then press firmly on the valve to confirm it’s seated. If air still creeps back in, a squeeze test or soap bubble check will show you exactly where it’s escaping.
TL;DR:
- A bag that puffs up within seconds usually has an unclosed zipper; reinflation within minutes points to the valve, while hours suggests a pinhole or seam.
- Leave about 2 inches, or one third of the bag, empty; overfilling can prevent the zipper from sealing and stretch the film thin enough to puncture.
- Apply dish soap and water to the zipper, valve, and seams, then squeeze gently; bubbles pinpoint leaks, while hard pressure can create false readings.
- Patch a dry pinhole with a larger patch, let the adhesive cure fully before retesting, and replace bags with separated seams or recurring leaks.
Table of Contents
- Do Vacuum Bags Naturally Lose Air? Common Causes of Reinflation Explained
- Step-by-Step Diagnostics: Tests to Find Leaks at Home
- How to Fix Common Problems: Zipper Resealing, Valve Repair, Patching, and Replacement Guidance
- Packing and Prevention Tips to Reduce the Chance of Reinflation
- Author Perspective: Hands-On Observations and a Short Preflight Checklist
- What Actually Matters When You’re Troubleshooting a Leaky Bag
- Why a Built-In Pump Can Prevent These Problems Before They Start
- FAQ
- Sources
Do Vacuum Bags Naturally Lose Air? Common Causes of Reinflation Explained
A little air seeping back in over several days is normal: thin plastic film allows slow diffusion, and no bag holds a perfect vacuum forever. That’s different from a bag that puffs back up within an hour or two, which points to an actual leak rather than gradual diffusion.
Most everyday reinflation traces back to a short list of fixable issues. Zipper seals fail when the slider isn’t pulled all the way across or when the bag is stuffed so full that the plastic can’t lie flat against itself. Valves and pump ports fail when lint, dust, or a stray thread keeps the seal from closing, or when the grommet shifts out of alignment after repeated use. Punctures and seam damage happen when a zipper, belt buckle, or sharp-cornered item rubs against the bag during packing or in transit.
How fast the bag reinflates tells you a lot about where to look:
- Reinflates in seconds: check the zipper first, since this usually means the slider never fully closed.
- Reinflates within minutes: suspect the valve or pump port, especially if you hear a faint hiss near that spot.
- Reinflates slowly over hours: look for a pinhole or seam issue, often near a corner or fold.
- Reinflates over several days: this is likely normal diffusion through the film, not a defect.
Overfilling deserves special attention because it causes two problems at once. It prevents the zipper from seating properly, and it stretches the film thinner at pressure points, making small punctures more likely.
Step-by-Step Diagnostics: Tests to Find Leaks at Home
Work through these tests in order, from simplest to most involved, and stop as soon as one identifies the problem.
- Squeeze and listen. Press down firmly on different sections of the bag and listen for a faint hiss while feeling for air against your skin. This isolates the general area of a leak without any tools.
- Run the soap and water test. Mix a few drops of dish soap into a cup of water, dab it along the zipper, valve, and seams, then squeeze the bag gently. Bubbles forming at a specific spot confirm a leak right there.
- Isolate the zipper. Reopen the slider fully, smooth the plastic flat with your fingers, and close it slowly in one continuous motion rather than in short pulls, using the pull clip if the bag has one.
- Test the valve. Attach the pump, pressurize the bag, then hold your ear and hand near the valve while watching for bubbles if you’ve applied soap solution there. Reseat the grommet by pressing it firmly back into its seat if it looks tilted or loose.
- Try the pressurization method for stubborn leaks. For bags that still leak after the basic checks, the approach used by woodworkers to find leaks in vacuum-clamp bags works well here too: pressurize the bag, plug the input tube, and listen and feel along every surface for escaping air, which reveals pinholes that are otherwise nearly invisible.
- Mark the spot. Circle any confirmed leak location with a washable marker or a small piece of tape so you can find it again once the bag is dry and ready for repair.
Pro Tip: Do the soap test in good light over a dry towel, since wet bags are harder to inspect and a damp zipper track can mask a genuine leak.
Keep gentle, steady pressure during any pressurization step. A hard squeeze can push air past a weak seam that would otherwise hold under normal use, giving you a false reading.
How to Fix Common Problems: Zipper Resealing, Valve Repair, Patching, and Replacement Guidance
Once you’ve found the source, the fix usually takes less time than the diagnosis.
Zipper resealing solves the majority of reinflation complaints. Reopen the slider completely, smooth out any bunched fabric near the track, and leave a bit of clearance so the plastic can lie flat rather than bulging against the seal. Close the zip slowly and deliberately along its entire length, using the attached pull clip for extra leverage if the bag feels overstuffed. A seal that closes easily and sits flush is a good sign the fix held.
Valve repair comes next if the zipper wasn’t the issue. Wipe the valve and surrounding grommet clean of lint or dust, press the grommet firmly back into its seated position if it has shifted, and replace any small washer or cap that looks cracked or missing if your bag included spares. Pressurize again after the fix and recheck with the soap test before trusting it for travel.
Patching small holes is straightforward with the right materials. Clean and dry the area around the puncture, apply a durable adhesive patch sized noticeably larger than the hole itself, and press it down from the center outward to avoid trapping air bubbles underneath. Let the adhesive cure fully, following the product’s recommended time, before testing the bag again.
- Clean the surface thoroughly so the patch adhesive bonds properly.
- Size the patch generously larger than the hole on every side.
- Let the patch cure completely before pressurizing the bag again.
Pro Tip: Press a patch flat with the back of a spoon for thirty seconds right after applying it. The even pressure helps the adhesive bond without leaving air pockets at the edges.
Know when to stop repairing and replace the bag instead. Multiple pinholes, a seam that has separated along a visible stitch line, or a leak that returns within a day or two of a clean fix are all signs the material has reached the end of its useful life. Continuing to patch a bag in that state wastes time you could spend packing.
Before your next trip, run one final check: pressurize the repaired bag, let it sit for a few hours, and confirm it still feels firm. That waiting period catches slow leaks that a quick squeeze test might miss.
Packing and Prevention Tips to Reduce the Chance of Reinflation
Most reinflation problems are easier to prevent than to fix. A few packing habits make a real difference.
- Leave roughly 2 inches, or about one-third of the bag’s capacity, empty so the zipper seats against flat plastic film rather than bunched fabric.
- Fold garments so seams and edges lie away from the zipper track, since bunched fabric right at the seal is a common cause of slow leaks.
- Wrap sharp items like belt buckles, zippers on jackets, or toiletry bottle caps separately, or tuck them into a padded pouch before placing them inside the compression bag, following practical steps to stop toiletry leaks.
- Avoid folding or flexing the bag sharply at the same crease every trip, since repeated stress at one spot weakens the film faster than general use.
- Store bags flat rather than crushed under heavier luggage, and keep them out of direct heat, since temperature swings during travel can affect how well the seal holds.
These habits cost almost no extra time at the packing stage and prevent most of the issues covered above before they start.
Author Perspective: Hands-On Observations and a Short Preflight Checklist
The mistakes we see most often are simple: overstuffing past the point where the zipper can seat, rushing the closure instead of working it slowly, and forgetting to check that the valve is seated before travel. Bags with a built-in rechargeable pump remove one common failure point, since there’s no separate adapter to misalign or lose.
Before any trip, run this five-step check: reseal the zipper slowly, test the valve for a firm seat, patch any small holes you’ve spotted, repack with a bit of clearance left at the top, and finish with one last squeeze test.

What Actually Matters When You’re Troubleshooting a Leaky Bag
Most advice on this topic jumps straight to patch kits and replacement bags, but the data points elsewhere: a slow, deliberate zipper reseal fixes the majority of complaints, and it costs nothing. The squeeze test and soap test handle almost everything else. Pressurization with a pump or compressor is a genuinely useful last resort for tiny pinholes, but it’s overkill for the zipper-and-overfilling problems that cause most reinflation.

What readers underestimate is how much overfilling contributes to every other symptom on this list. A bag stuffed past its flat-seal point stresses the zipper, stretches the film thin at the corners, and makes small punctures more likely over time. Fix that one habit first, and a lot of the troubleshooting above becomes unnecessary.
If there’s one thing worth doing differently, it’s treating the valve and zipper as routine checkpoints before every trip, not just when a bag has already failed. Five minutes of inspection beats a damp, puffed-up bag at the airport.
— Hugh
Why a Built-In Pump Can Prevent These Problems Before They Start
A lot of the leaks we’ve walked through come down to one thing: an extra step that gets rushed or skipped, whether it’s attaching a separate vacuum adapter correctly or remembering where the pump even is. Some vacuum travel bags build the pump directly into the bag, with the pump charged over USB-C, so there’s no adapter to misalign and no hunting for a separate device before you can compress anything.
That design shows up in a few practical ways while you’re packing:
- Resealing takes one motion since the pump and valve are part of the same unit, not two separate pieces to align.
- Repacking on the go, whether at a hotel or mid-layover, doesn’t require finding an outlet or a separate vacuum.
- The integrated system is built for repeated use across a trip, not just a single pack-and-forget session at home.
Before any flight, give your bag the same quick check we recommend for any compression bag: reseat the valve, confirm the pump has a charge, and run one final squeeze test to be sure the seal is holding.
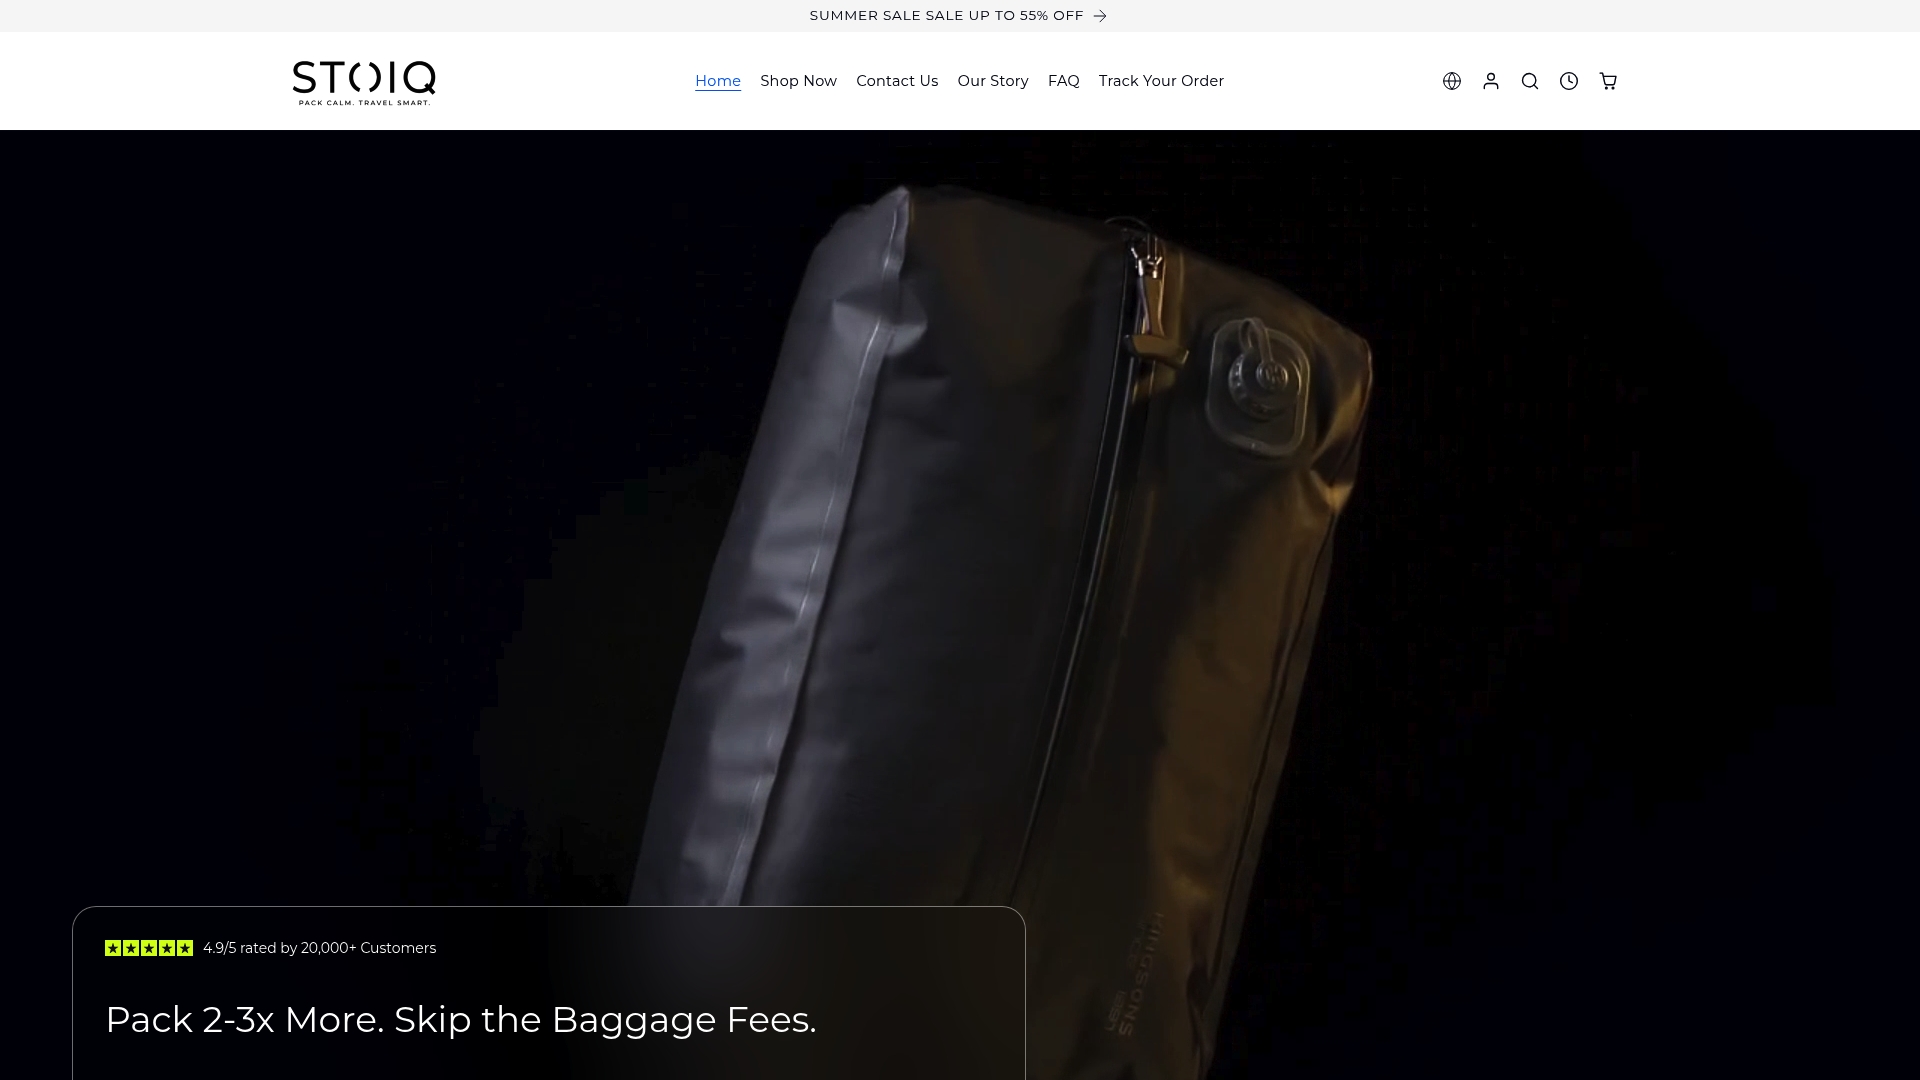
If you’re ready to stop troubleshooting zippers and start packing, our Stoiq Carry-On Solution collection is a good place to start comparing bags and bundles built around this system.
FAQ
Can you reseal a vacuum sealed bag?
Yes, most vacuum bags can be resealed multiple times by reopening the zipper slider fully, smoothing the plastic flat, and closing it slowly along the entire track. If the seal still won’t hold after a careful reseal, check the valve and inspect for small punctures before assuming the bag is worn out.
Is a very slight vacuum leak okay?
A small amount of air returning over several days is normal diffusion through the plastic film and isn’t a sign of a defect. A bag that visibly puffs back up within minutes or hours, though, usually has a specific leak at the zipper, valve, or a puncture that’s worth tracking down.
How do I squeeze air out of compression or storage bags without a pump?
Lay the bag flat, close the zipper partway, and press down firmly from the closed end toward the opening to push air out before sealing the rest of the way. This works for basic storage bags, though bags with a built-in or external pump remove most of the guesswork and get closer to a full vacuum.
Why do my vacuum storage bags always leak?
Recurring leaks almost always trace back to one of three habits: overfilling past the point where the zipper can seat flat, closing the zip too quickly instead of working it slowly, or a valve that isn’t fully seated. Running a soap bubble test along the zipper and valve will usually show you which one is the culprit.
What’s the fastest way to find a tiny pinhole leak?
Press the bag firmly and listen for a faint hiss first, then apply a soap and water solution along suspect areas and watch for bubbles. For leaks that are still hard to pinpoint, pressurizing the bag and plugging the input while feeling along every surface, a method borrowed from woodworking vacuum-clamp repairs, will reveal even very small holes.
