



40–50 liter Hostel Packing List for Dorms and Locker Fit
Pack a 40 to 50 liter front-loading backpack, a padlock, a microfiber towel, earplugs, an eye mask, a power bank, a universal adapter, and a small daypack, and you have covered nearly every hostel scenario. Plan on doing laundry every seven to 10 days rather than packing for a full trip. The goal isn’t packing more. It’s packing fewer things that each do more work.
TL;DR:
- A 40 to 50 liter front-loading backpack is optimal for hostel trips, fitting a week’s clothing and avoiding checked baggage fees on budget airlines.
- Pack only enough clothing for seven to ten days and rely on laundry facilities to keep your pack light and manageable.
- Use organization tools like packing cubes and compression bags to maximize space and keep items accessible in a small backpack.
- Carry essential security items such as a padlock, a neck pouch, and digital copies of documents to safeguard valuables in shared accommodations.
- Prioritize purpose-built, organizational gear and smart packing strategies over simply minimizing extra items to enhance comfort and efficiency during hostel stays.
Table of Contents
- Choosing the Right Backpack for Hostel Travel
- Building a Capsule Wardrobe for Hostel Stays
- Toiletries and a Shower Kit That Actually Works
- Sleep Essentials for Shared Dorms
- Organizing a Small Backpack Without Losing Your Mind
- Electronics and Charging in Shared Spaces
- Security and Documents: Locks, Pouches, and Backups
- What to Leave at Home
- Seasonal and Destination-Specific Additions
- A Fast Packing Routine for Hostel Life
- Why Packing Smart Beats Packing Light
- Gear That Makes Hostel Packing Easier
- Sources
Choosing the Right Backpack for Hostel Travel
Size matters less than access. A 40 to 50 liter pack hits the sweet spot for most hostel trips, big enough for a week or a month, small enough to avoid checked-bag fees on budget airlines. That range comes up again and again in hostel packing guidance from Hostelworld, and for good reason: anything larger tempts you to overpack, and anything smaller forces awkward compromises on shoes and layers.
The bigger decision is front-loading versus top-loading. Top-loaders force you to dig from the top down, which means dumping half your clothes onto a bunk bed or, worse, a questionable dorm floor to find something buried near the bottom. Front-loading packs unzip like a suitcase, so you see everything at once. Experienced backpackers consistently prefer front-loaders for exactly this reason, since they avoid emptying a pack on tight dorm floors shared with three or five strangers.
Beyond the loading style, a few features separate a decent hostel pack from a frustrating one:
- A padded hip belt that shifts weight off your shoulders during long walks between stations or bus stops
- A built-in or included rain cover since you won’t always get to choose your weather
- Lockable zipper pulls or a lockable main compartment so you can loop a padlock through them on overnight trains
- External daisy chains or straps for quickly clipping on wet shoes or a jacket that hasn’t dried yet
- A separate bottom compartment for shoes or dirty laundry, keeping them away from clean clothes
If you’re flying budget airlines between hostels, a 40 liter pack usually clears carry-on limits without weighing it, which saves the baggage fee entirely. Go closer to 50 liters if you’re checking a bag anyway or traveling somewhere cold enough to need bulkier layers.
Building a Capsule Wardrobe for Hostel Stays
Clothes are where most overpacking happens, and it’s the easiest category to fix. Since most hostels have laundry facilities and you’ll want to use them anyway, pack for seven to 10 days of wear rather than the full length of your trip. That laundry rhythm isn’t just convenient. It’s the standard interval experienced hostel travelers plan around, and building your wardrobe to that cadence keeps your pack light no matter how long you’re traveling.
A simple formula that works across climates and trip lengths: five tops, four bottoms, three pairs of socks and underwear packs, two pairs of shoes, and one hat. Adjust the ratios for your destination, but the structure keeps you from packing “just in case” items that never leave your bag.
- Choose quick-dry synthetic or merino wool fabrics over cotton. Cotton takes twice as long to dry on a hostel clothesline and holds odor.
- Layer with one lightweight fleece or packable jacket instead of one bulky sweater.
- Bring one pair of comfortable walking shoes and one pair of flip-flops or sandals. Skip a third pair unless you have a specific activity that demands it.
- Pack one set of sleepwear you’re comfortable wearing in a shared dorm, not just underwear.
Pro Tip: Wear your bulkiest item, like boots or a jacket, on travel days instead of packing it. You save the space and skip the awkward moment of trying to stuff a jacket into an already-full pack at 6 a.m.
For colder climates, swap one top for a thin thermal layer rather than adding extra clothing. The capsule stays the same size. It just shifts what’s in it.
Toiletries and a Shower Kit That Actually Works
Full-size bottles are the single heaviest mistake in most hostel packs, and they’re also the most avoidable. A hanging toiletry bag with a hook solves the biggest annoyance in shared bathrooms: nowhere to set anything down without it getting wet or walking away.
- Travel-size shampoo, conditioner, and body wash, or a solid shampoo/soap bar if you want to skip liquids and TSA bag limits entirely
- Flip-flops for shower floors, always, no exceptions in a shared bathroom
- A microfiber towel, since it packs down to the size of a fist and dries in a few hours instead of overnight
- A small quick-dry toiletry pouch, separate from your main wash bag
- Toothbrush, toothpaste, deodorant, and any daily medication in a labeled bag
Keep the shower kit itself separate from your main toiletry bag. A dedicated pouch prevents soaking your other supplies every time you carry it to and from a wet shower stall, and it saves real time during a rushed morning routine when three other people are also trying to get ready. Microfiber fabric dries faster and resists the mold and odor buildup that regular cotton towels develop in humid bathrooms. A compact 3-compartment wash bag keeps everything sorted without adding real bulk to your pack.
Sleep Essentials for Shared Dorms
Sleep quality in a dorm depends less on the mattress and more on what you bring to block out everyone else in the room. Earplugs and an eye mask solve 90% of the problem, and they’re consistently ranked as non-negotiable by people who’ve actually spent nights in six-bed rooms, right alongside flip-flops for shared showers.
- Foam or silicone earplugs, ideally a few pairs since they get lost or worn out
- A soft, contoured eye mask that doesn’t dig into your face when you sleep on your side
- A lightweight sleep sheet or a hoodie you can use if the air conditioning runs cold
- A small case or pouch to keep earplugs from disappearing into the bottom of your bag
Pro Tip: Foam earplugs block more noise than silicone ones, but silicone is more comfortable for side sleepers and reusable for weeks. Bring both types and decide once you’re actually in a dorm.
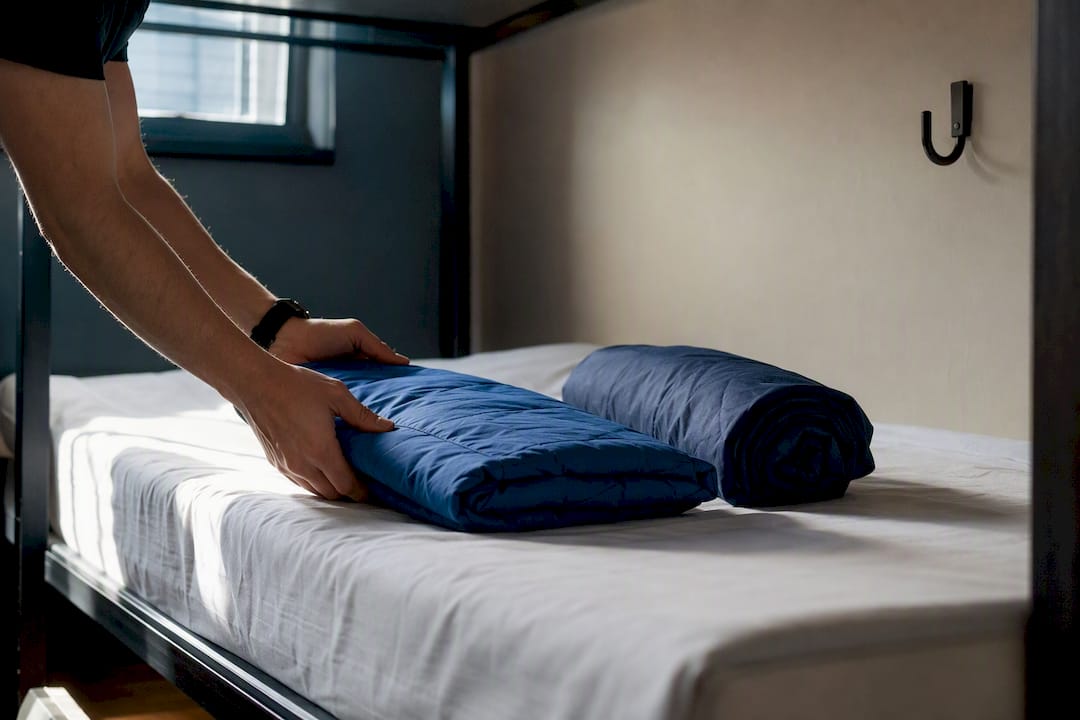
If you tend to run cold, a compact packable layer doubles as sleepwear and a plane blanket. Some travelers also bring a lightweight travel sheet for hygiene peace of mind on older mattresses, though most reputable hostels now provide clean bedding. A few travel-friendly bedding options pack down small enough that they’re worth considering if you’re picky about where you sleep.
Organizing a Small Backpack Without Losing Your Mind
The difference between a pack you can navigate in 10 seconds and one you dig through for five minutes usually comes down to whether you used any organization system at all. Packing cubes group items by category, so your “tops” cube stays separate from your “underwear” cube, and you’re not unpacking your whole bag to find one sock.
Compression cubes go a step further, squeezing out excess air so soft items like clothing take up noticeably less room. Hostel packing guides consistently recommend compression cubes for exactly this reason: they save meaningful space without adding real weight. Vacuum-sealed compression systems push this further still, pulling nearly all the air out of packed clothing, which matters most for winter trips or when you’re bringing home souvenirs you didn’t plan for.
- Use packing cubes for daily-wear items you need quick access to.
- Use a compression bag or cube for bulky items like jackets, sweaters, or anything you won’t touch for several days.
- Bring one dedicated laundry bag, ideally a lightweight mesh or drawstring one, to keep dirty clothes away from clean ones and make wash day faster.
- Use a small pouch or organizer for cables, chargers, and adapters so they don’t tangle loose in a side pocket.
If you’re deciding between the two systems, cubes are better for organization and cubes plus compression are better for volume. A breakdown of compression bags versus packing cubes covers the tradeoffs in more depth if you’re trying to choose one over the other. Most experienced travelers end up using both: cubes for structure, a compression bag for the bulky outlier items that would otherwise eat half the pack.
Electronics and Charging in Shared Spaces
Hostels rarely have enough outlets for everyone charging at once, so the gear you bring should minimize how much space and time you take up at the power strip. A universal adapter with two or three built-in USB ports lets you charge your phone, a power bank, and a friend’s device from a single outlet, which matters when you’re sharing one wall socket with five other travelers.
- A phone, obviously, with a case sturdy enough for a backpack getting tossed around
- A power bank, at least 10,000mAh, for long travel days when outlets aren’t accessible
- A universal adapter with USB ports built in, rather than a single-plug adapter plus a separate USB brick
- One spare charging cable, because cables are the item most often left behind in a hostel outlet
Charge your devices during the day when you’re awake and can retrieve them, rather than leaving a phone plugged into a common-room outlet overnight. If you must charge overnight, keep the device near your bunk instead of in a shared area where it’s easy for someone to grab by mistake, intentionally or not. Universal adapters with multiple USB ports reduce the friction of managing several devices in a room where outlet access is genuinely limited.
Security and Documents: Locks, Pouches, and Backups
Most hostels provide a locker but not a lock, which means the single most-forgotten security item is also the most essential. Bring your own padlock rather than assuming one will be available or renting one at the front desk for a few dollars a night.
- A compact padlock with a thin shackle, since many hostel locker hasps are narrow and won’t fit thicker combination locks
- A flat, low-profile neck or waist pouch for your passport, cards, and cash, worn under clothing on travel days
- Digital copies of your passport, ID, and any visas, stored somewhere separate from the physical documents
- A small dry bag or zip pouch for anything electronic that needs extra protection from spills or rain
Test your padlock’s shackle against a standard locker hasp before you leave. Diameter varies more than most travelers expect, and a lock that’s fractionally too thick is useless the moment you need it. Simple mechanical padlocks fit a wider range of locker hasps than bulkier combination or smart locks, which is worth knowing before you buy one online expecting it to fit everywhere.
Pro Tip: If a hostel’s lockers look worn or the hasps are bent, use the front desk safe for your passport and cards overnight instead. A locker is fine for a laptop; it’s not always the right call for irreplaceable documents.
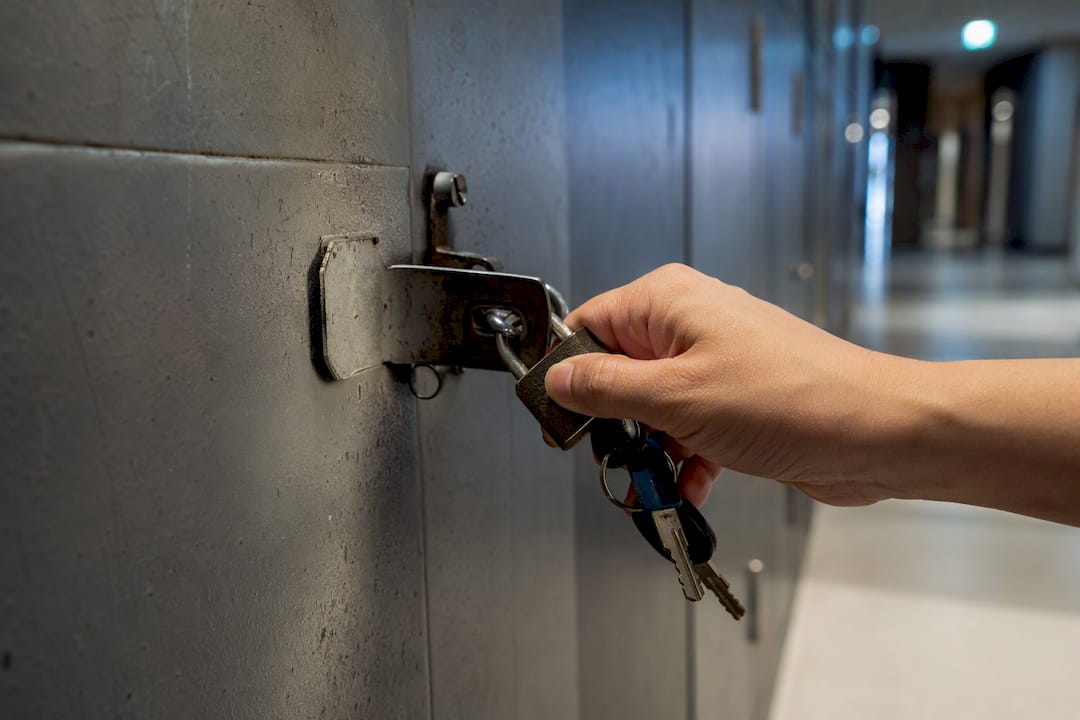
Keeping a small footprint and securing valuables consistently shows up as core hostel etiquette. It’s part of the unwritten rules of communal living that make shared spaces work for everyone, not just you.
What to Leave at Home
- Full-size toiletries. They’re heavy, they take up disproportionate space, and you’ll find shops selling travel sizes almost everywhere.
- A third pair of shoes. Two pairs covers walking and showering. A third almost always stays unworn.
- Valuable jewelry. Shared dorms and communal bathrooms aren’t the place for anything you’d be devastated to lose.
- Bulky books. A phone or e-reader holds a dozen books in the space of zero physical books.
- Duplicate electronics. One phone, one power bank, one adapter. Backups belong at home, not in your dorm pack.
The rare exception is destination-specific gear you genuinely can’t buy locally, like specialized medication or a piece of equipment for a planned activity. Everything else on this list is safe to cut.
Seasonal and Destination-Specific Additions
The base list above works for most trips with minor tweaks, not a full overhaul.
- A packable rain jacket for wet climates, folding down to fist size when not in use
- Thin thermal layers for cold-weather stretches, worn under your existing capsule pieces
- Swimwear and a quick-dry towel for beach or hostel-pool destinations
- Lightweight hiking shoes if your route includes trails, swapped in for one of your two standard shoe pairs
- Sun protection like a hat, sunscreen, and sunglasses for sun-heavy climates
Treat these as substitutions within your existing capsule, not extra items stacked on top. Swap the thermal layer in for a lighter top rather than packing both.
A Fast Packing Routine for Hostel Life
Getting good at hostel packing is less about what you own and more about the order you pack it in. A repeatable routine means you can pack or unpack a dorm bunk in minutes instead of scattering your life across a shared room.
- Lay out everything first. Sort into piles: clothes, toiletries, electronics, documents, miscellaneous.
- Apply the 5-4-3-2-1 rule. Five tops, four bottoms, three sock or underwear sets, two shoe pairs, one hat. This keeps items visible at a glance instead of buried under each other.
- Pack vertically, not flat. Roll clothes and stand them upright in rows rather than stacking them flat, so you can see every item without unpacking the layers above it.
- Fill the bottom compartment with shoes and dirty laundry. These are heavy and rarely need mid-day access.
- Place daily-access items near the top or in outer pockets. Toiletry bag, charger, and a change of clothes should be reachable without opening the main compartment.
- Do a pre-checkout sweep. Check under the bed, behind the door, and in the bathroom before you leave, since chargers and socks are the most commonly abandoned items in hostel dorms.
Pro Tip: Keep a small “grab bag” inside your main pack: passport pouch, phone charger, and earplugs together in one pocket. On early checkout mornings, you can find your essentials in the dark without waking your whole dorm room.
Front-loading packs make steps three through five dramatically faster since you’re never digging past other layers to reach the bottom.
Why Packing Smart Beats Packing Light
The advice to “pack light” gets repeated so often it’s lost most of its meaning. What actually matters for hostel travel is packing smart: fewer items that each solve more than one problem, organized so you can find anything in seconds without waking up your dorm at 5 a.m.
Most overpacking mistakes aren’t about volume. They’re about duplication, bringing three of something you only ever use one of, or packing for a version of the trip that doesn’t match how you’ll actually live out of a 45 liter bag for three weeks. The travelers who move through hostels the most smoothly aren’t the ones with the smallest packs. They’re the ones whose packs are organized well enough that packing and unpacking takes under five minutes, every single time.
That’s the real argument for compact, purpose-built gear, not because minimalism is virtuous, but because friction in a shared dorm room at 6 a.m. is a real cost. A pack that opens like a suitcase, a toiletry bag that doesn’t leak, a compression system that buys you room for the souvenirs you didn’t plan for: these aren’t luxuries. They’re the difference between a hostel stay that feels manageable and one that feels like a daily scramble.
— Hugh
Gear That Makes Hostel Packing Easier
Everything above works with a standard backpack and zero extra gear. But if you’re trying to fit two weeks of travel into a carry-on, or you keep coming home with more souvenirs than space, Vacuum-compression bags can solve that specific problem without adding another device to carry.
Some bags use built-in, rechargeable pumps instead of requiring a separate vacuum, allowing compression of clothing in a dorm room without hunting for an outlet-mounted vacuum cleaner or a hair dryer trick. The 20L Carry-On Solution is built for exactly the scenario in this list: cramming a week or two of clothing into carry-on space so you skip checked-bag fees entirely. If you’d rather have compression built into the pack itself, the Stoiq Compression Backpack integrates the vacuum system directly into a travel backpack, and the 3-compartment toiletry bag covers the wash-kit organization this list recommends without a separate purchase decision. None of these are required to travel well. They’re tools for travelers who keep running out of room, whether that’s from winter layers, souvenirs, or just wanting more breathing space in a 40 liter pack. Check the Carry-On Solution product page to see current sizing and start planning your next pack.
Sources
- Hostel Packing List: What to Bring (and What to Skip)
- Hosteling
- Front-loader backpacks vs top-loader backpacks
- Best hostel essentials packing list — LifeOfBrit
